Our Services
Radiography
SafeRad™ the World Leaders of Close Proximity Radiography
Click on the following links to Download more information
- SafeRad Flyer
- GammaBlok Flyer
- SafeRad Presentation
- GammaBlok Presentation
- SafeRad Se75 Exposure Container Data Sheet
- SafeRad Selenium 75 Data Sheet
SafeRad™ offer a range of Radiography Services form Computed Radiography, Digital Radiography and Conventional Film Radiography for both X-Ray and Gamma-Ray.
We have purpose built facilities at all our offices for loose spooling and welder qualification test pieces and offer on site radiography with our world leading SafeRad™ Radiography System utilising SE-75 sources giving far superior quality than Ir-192. Enabling the client to always meet construction code requirements for sensitivity at all times.
Radiography can be either carried out in the Close Proximity mode or the conventional mode without the use of other equipment, one system all methods and at the same cost as what other companies would charge you for conventional radiography using Ir-192.
SafeRad™ manufacture all of their own equipment so there is no middle man, which allows us to keep our costs down.
We save the clients thousands of Dollars and hundreds of thousands on long term projects.
We also have bespoke Ir-192 equipment for heavy wall pipework for onsite Radiography Projects were small barriers of 2 meters or less are required.
We have state of the art processing facilities and portable darkrooms for onsite radiography.
All SafeRad™ Technicians are fully trained and competent in the use of the SafeRad Radiography system and follow a rigorous training program to become qualified in its use.
No other companies can compete with SafeRad in this field, we are the industry Leaders and the World Experts in Close Proximity Radiography.
As well as the World Leading SafeRad System
SafeRad also offer a full range of Radiography Services
Digital (DR) / Computed Radiography (CR) and X-Ray see below for Information
Corrosion Monitoring Images: showing wall thickness measurement
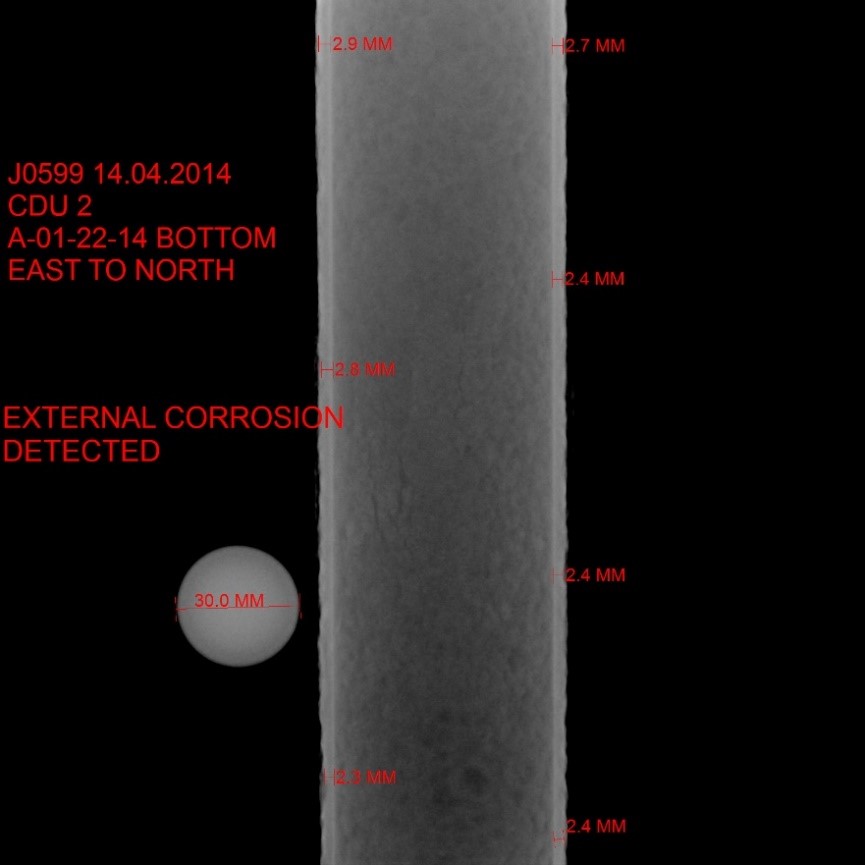
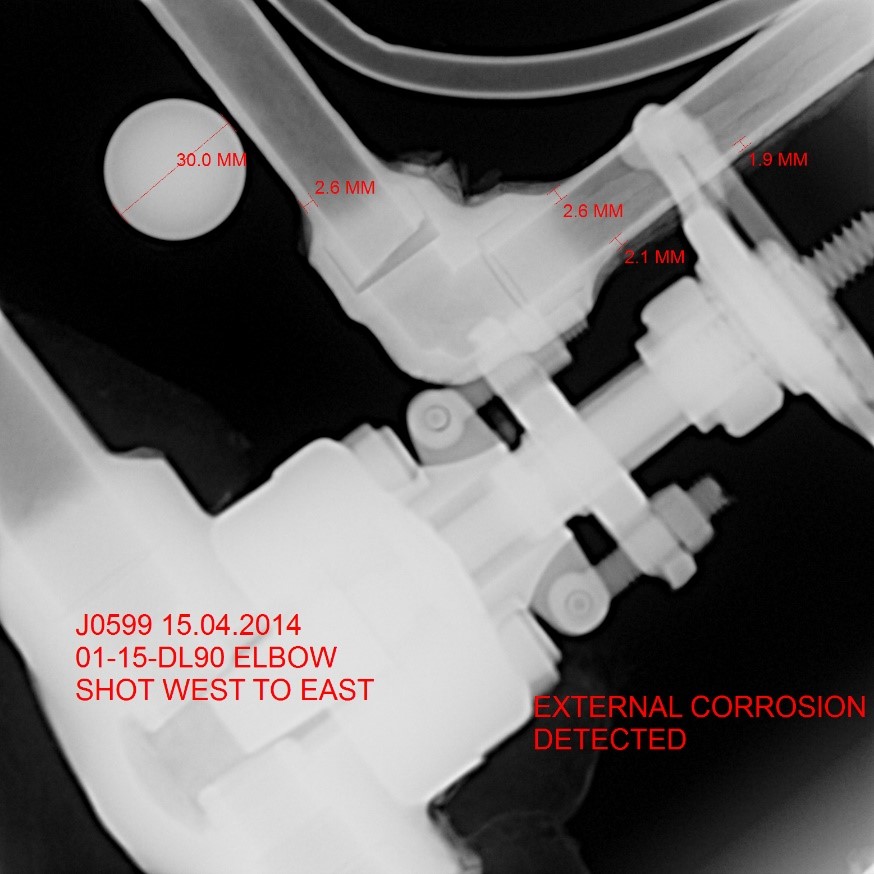
Images showing DR and CR capabilities of Software Enhancement Tools
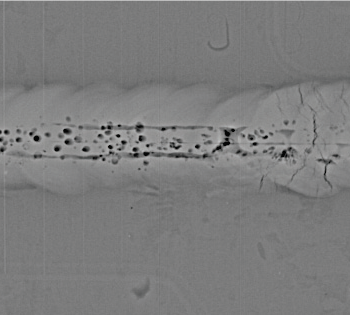
Branch Weld enhanced with software tools showing defects clearly
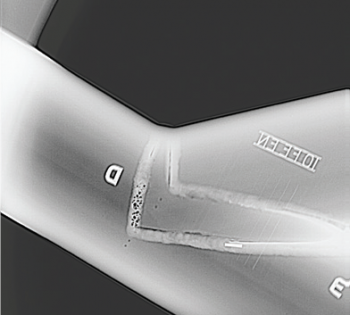
Branch Weld enhanced with software tools showing defects clearly
Digital Radiography (DR)
Digital Radiography (DR) is the most advanced X-ray and Gamma Ray technology available.
Instead of X-ray film, digital radiography uses a rigid digital image capture device known as a Digital Detector Array (DDA) Panel. This gives advantages of immediate image preview and availability; elimination of costly film processing steps; a wider dynamic range, which makes it more forgiving for over- and under-exposure; as well as the ability to apply special image processing techniques that enhance overall display quality of the image.
The Digital Detector Array (DDA) panel produces the best image quality in the market allowing for the highest level of detection. The unique combination of fast image generation, software enhancement and analysis tools, as well as efficient operation, dramatically speeds up the inspection process, increasing NDT profitability.
Portability enables fast set up under any conditions, at any location – whether it is on site, outdoors or in the laboratory. With the super thin DDA imager and integrated wireless options, you can conduct X-ray and Gamma Ray inspections anywhere, without cables. Highest quality, razor sharp images are created with a click of a button enabling you to conduct an analysis on your laptop immediately, on site.
Modular Design: Easy setup, dual use, in the lab or in the field. Compatible with portable Pulsed, Constant Potential & High Frequency X-ray sources, as well as Isotopes. Full synchronization with various X-ray sources.
Corrosion Monitoring: Automatic Wall Thickness Measurement, Precise Wall Thickness & Defect Measurement Tools. Facilitates fast and exact (calibrated) multiple measurements.
Image on Screen within Seconds! No repositioning, results shown immediately. No developing! No scanning! No chemicals!
Image Share: Images stored electronically, share images around the world for viewing by your client with free client viewing software.
SafeRad have Completed a number of Projects Australia wide with Digital Radiography.
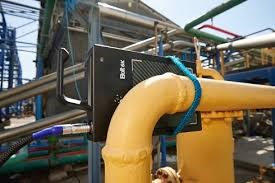
Digital Radiography Plate Setup
Computed Radiography (CR)
CR is the abbreviation for Computed Radiography. It is the use of a Phosphor Imaging Plates to create a digital image known as the CR process. CR uses a cassette-based system like analogue film.
CR offers all the same Software advantages as Digital Radiography but uses a flexible Image plate rather than a rigid Digital Panel.
SafeRad have completed a number of projects Australia and Worldwide with Computed Radiography.
X-Ray Radiography
SafeRad have purpose-built x-Ray bays at all there facilities to service local Industry for spooling and welder qualification works for all clients.
We also offer a full range of onsite X-Ray tubes Directional/Panoramic and Pipeline Crawler systems (Crawler Systems available for project works)
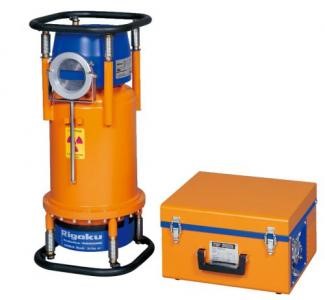
300KV Directional X-Ray Set
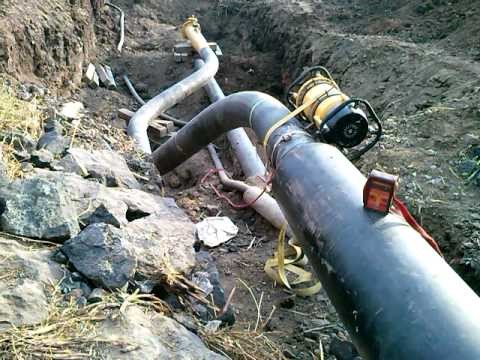
Pipeline Works
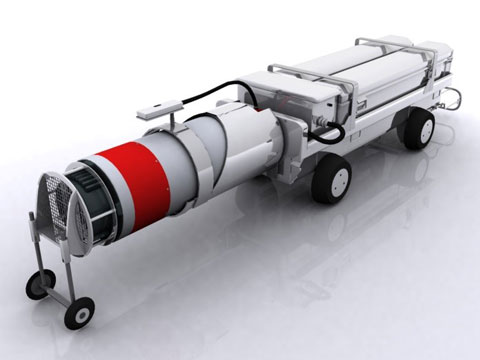
X-Ray Crawler System for Pipelines
Film Digitisation
Film Digitising System is an all-in-one imaging solution developed exclusively for the radiographic inspection industry. It easily transfers the industrial X-Ray film into a digital image for storage and management which makes it convenient to view and share.
It is a cost-effective way to digitise and archive radiographic film.
With just a simple and fast connection, you are able to transfer physical data into digital format.
SafeRad offer state of the art Film Digitisation equipment for archiving of X-Ray film Radiographs.
Ultrasonic testing is often performed on steel and other metals and alloys,
SafeRad offer Level 2 ISO 9712 Technicians for both weld scan and thickness inspection for corrosion monitoring.
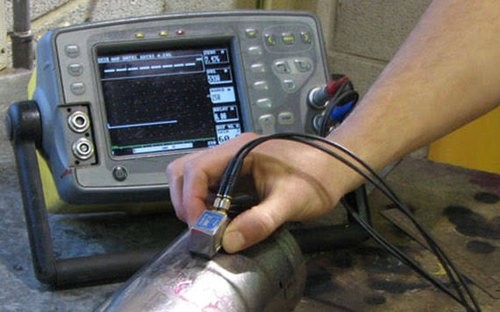
SafeRad™ offer experienced Level 2 ISO 9712 Technicians
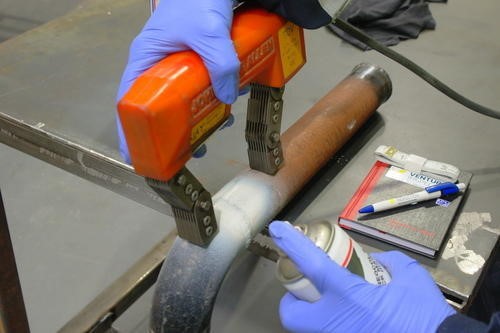
SafeRad offer experienced Level 2 ISO 9712 MPI Technicians
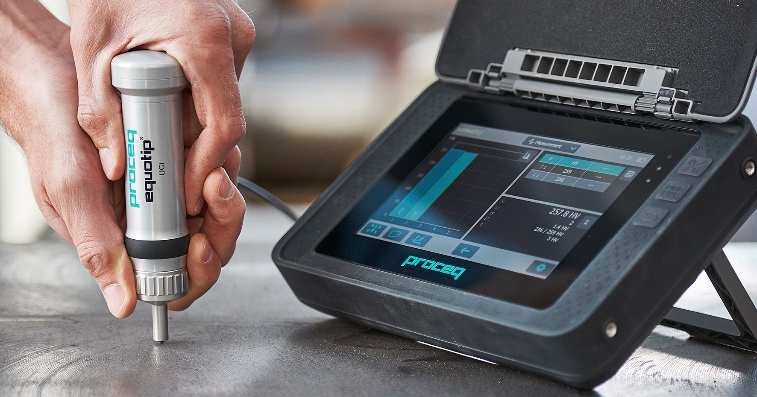
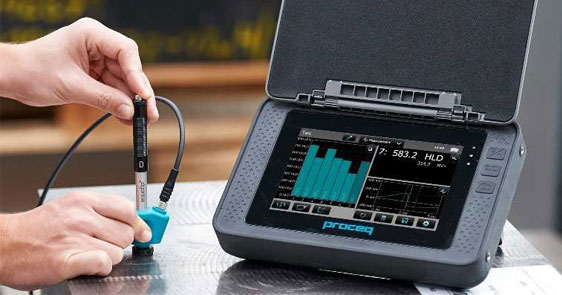
Proceq’s Equotip enables portable hardness inspection of almost any object, polished parts and heat-treated surfaces. The hardness measurements are made by using the dynamic rebound testing method according to Leeb, the static Portable Rockwell hardness test and the Ultrasonic Contact Impedance (UCI) method. The rugged Swiss-made metal NDT hardness testers are designed for portable hardness testing in the lab, in the workshop, at production facilities or on site.
SafeRad offer both Equotip 3 and the new Equotip 550 UCI Tester.
UCI Method
Rebound Method
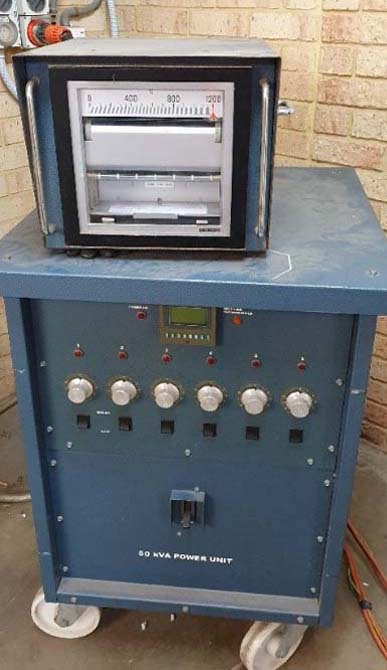
SafeRad offer a range of portable PWHT solutions with trained and Experienced Technicians in this method and have completed a number of major projects over the years.
Typical PWHT Setup
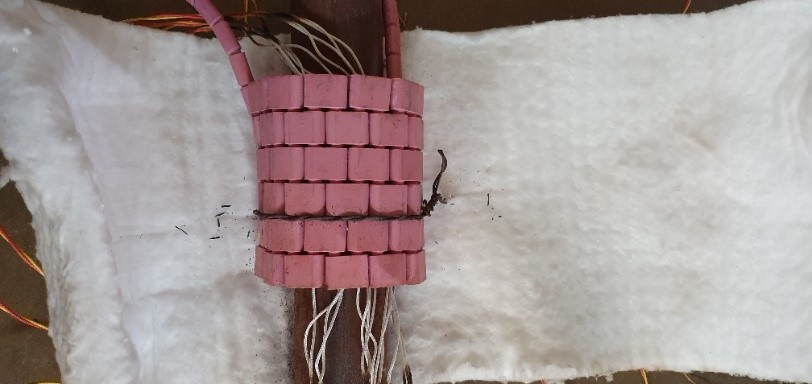
Portable PWHT Equipment
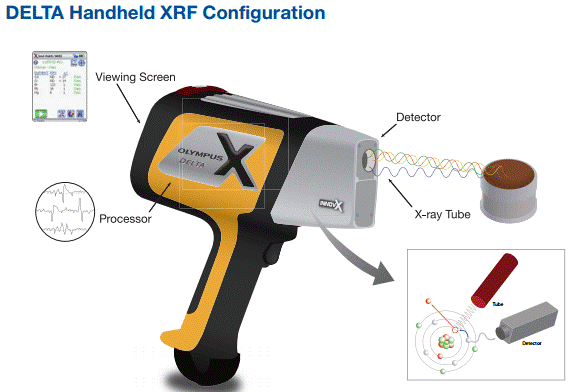
X-ray fluorescence (XRF) is the emission of characteristic “secondary” (or fluorescent) X-rays from a material that has been excited by being bombarded with high-energy X-rays or gamma rays. The phenomenon is widely used for elemental analysis and chemical analysis, particularly in the investigation of metals, and other materials.
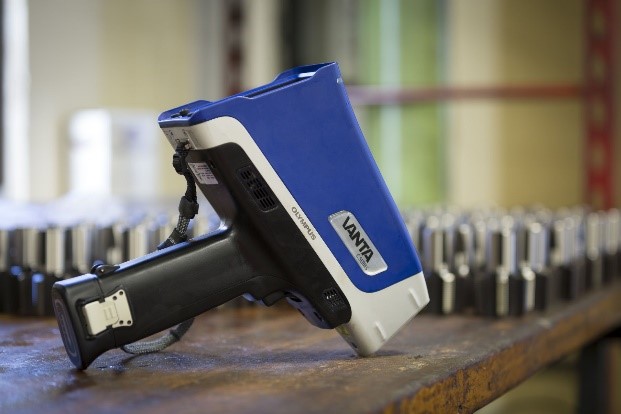
SafeRad offer Trained and Olympus Certified Technicians in the use of The Olympus Delta and Vanta Analyzers.
Delta XRF Analyser
Vanta XRF Analyser
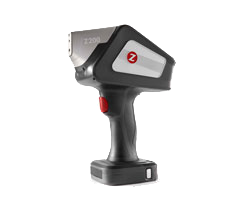
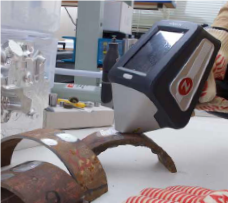
Analyze carbon content in carbon and stainless steels, utilizing the technique of handheld laser induced breakdown spectroscopy (HH LIBS). The method specifies the SciAps Z-200 C+, the world’s only handheld analyzer capable of analyzing carbon content in alloys.
Sciaps Z-200 Series Analyser
Alternatively, if the ferrite content is too high, the weld may be weaker and corrode. To address the need to measure the amount of ferrite in a sample the Welding Research Council introduced the Ferrite Number (FN) as a standardised value which related to the ferrite content of an equivalently magnetic weld metal.
The volume percentage of ferrite can be estimated as about 70% of the FN but the relationship depends upon the type and origin of the stainless steel used and the measurement technique.
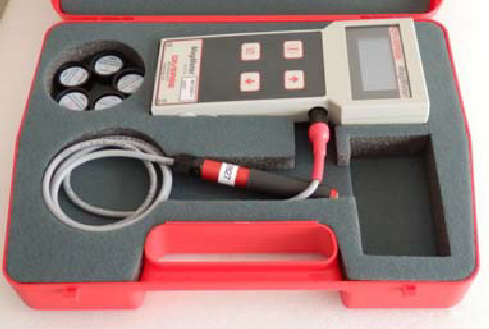
The Diverse Ferrite meter MF300F+ measures the Ferrite number (FN) of austenitic and duplex stainless steel weld material. It has a probe that is sensitive to ferrite content in a 10 mm area to a depth of approximately 1 mm. The instrument is calibrated using the secondary world standards held at The Welding Institute.
All 16 standards are used in the calibration giving an instrument with a measurement range from 0 to 115 FN. Transfer standards are supplied with the instrument allowing performance to be verified at any time. A variety of measurement modes are supported to ensure that good repeatable measurements can be made.
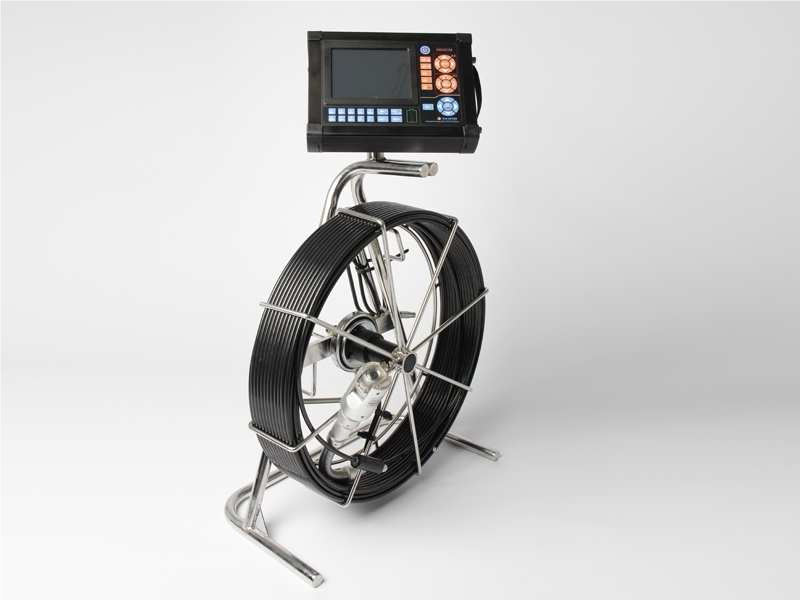
Visual Camera inspection is an easier and less expensive method for welding inspection. It is the first step in checking for any welding anomalies; visual inspections are required before and after weld-joints are completed. But it is difficult to carry a visual inspection on internal weld spots and you need an inspection camera to access the hard to reach smaller diameter piping.
SafeRad offer remote Video Camera Inspection System designed for the modern industrial inspection environment. We offer portable, battery type, wired and wireless inspection cameras which provides real-time color image and video for examining welds inside pipes and structural framework of Various diameters, viewing angle of 360 degree pan and 180 degree tilt probe means the camera is suitable for inspecting all your welding defects and ensuring a good welding finish.
Use for Debris inspection of pipework as well as weld root analysis.
See PowerPoint for Camera details
Stages of Typical On-Site Setup
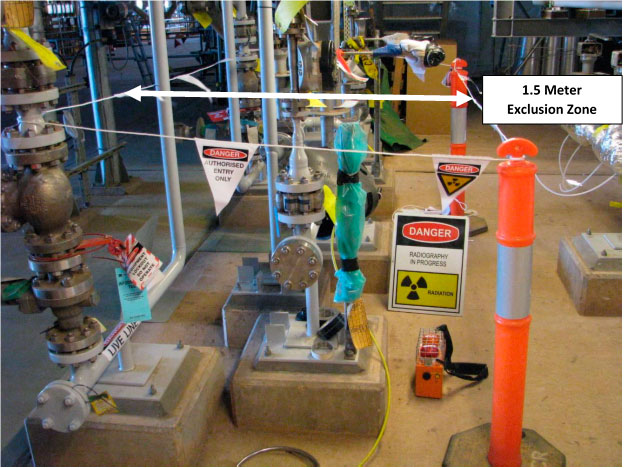
Saferad™ are conducting Close Proximity Radiography throughout the site to determine ball valve orientation.
This activity is different from Conventional Radiography. The method uses different radiation sources and radiation shielding to reduce radiation scatter and emit low level of radiation energy.
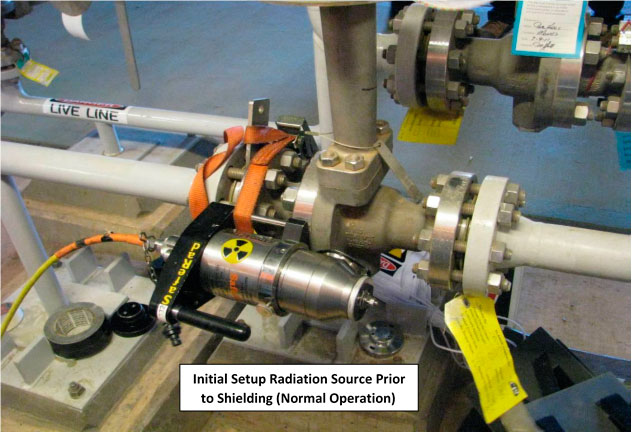
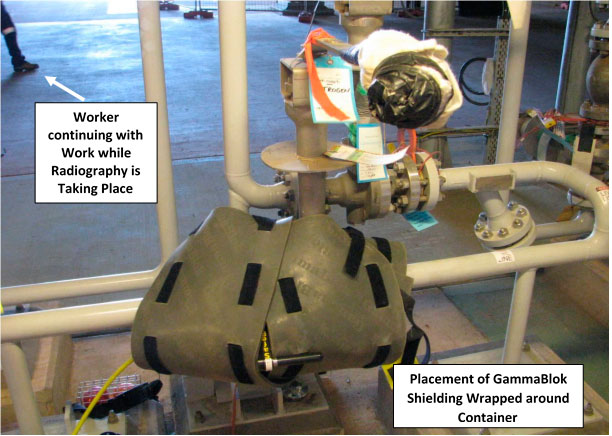
Conventional Radiography is unshielded and emits scatter radiation outward; hence previously larger exclusion zones were required.
Conventional Radiography and legislative requirements permit the maximum radiation energy to be 20 microsieverts per hour in Western Australia and 25 microsieverts per hour in all other States at the boundary during operation.
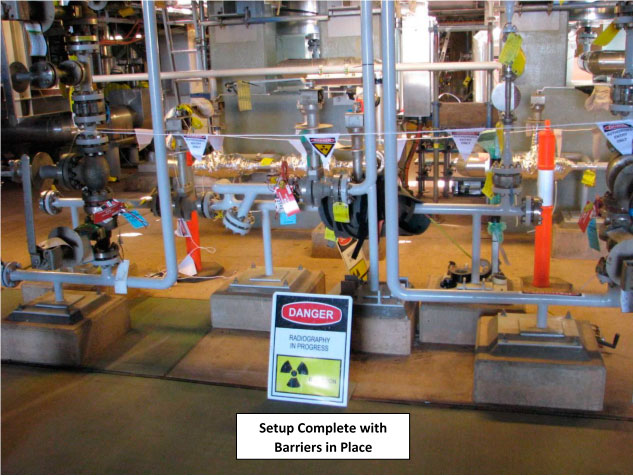
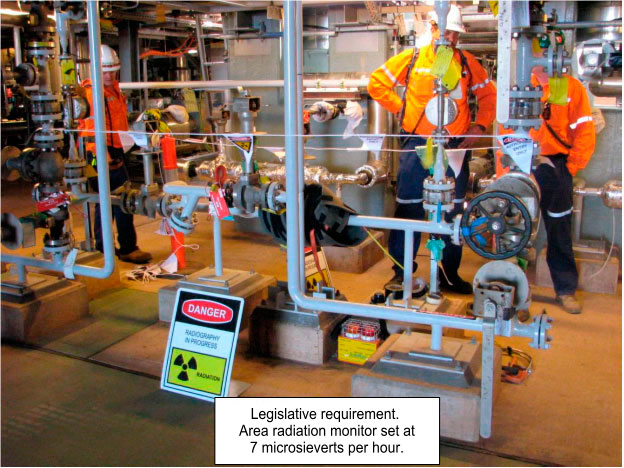
The Saferad close proximity radiography system reduces emitted radiation to between .5 & 5 microsieverts per hour at the boundary during operation (this is equal to or less than the normal background radiation emitted from the sun in the Pilbara region). This means there is a reduction in emitted radiation of at least 5 times the national allowable exposure limits but up to 50 times less the allowable limits are commonly achieved. This equates to an increased level of safety for the technicians involved in the activity, the environment and all other project personnel.
Saferad™ are conducting close proximity radiography throughout the site to determine ball valve orientation.
This activity is different from conventional Radiography.
The method uses different radiation sources and radiation shielding to reduce radiation scatter and emit low level of radiation energy.
Conventional radiography is un-shielded and emits scatter radiation outward; hence previously larger exclusion zones were required.
Conventional Radiography and legislative requirements permit the maximum radiation energy to be 20 microsieverts per hour in Western Australia and 25 microsieverts per hour in all other States at the boundary during operation.
The Saferad™ close proximity radiography system reduces emitted radiation to between .5 & 5 microsieverts per hour at the boundary during operation (this is equal to or less than the normal background radiation emitted from the sun in the Pilbara region). This means there is a reduction in emitted radiation of at least 5 times the national allowable exposure limits but up to 50 times less the allowable limits are commonly achieved. This equates to an increased level of safety for the technicians involved in the activity, the environment and all other project personnel.
